Setting up the Web client for Google Identity Platform
Recently, I thought about a membership system in my application. I considered many options and during my research I tested many solutions, and gained some knowledge. The results from my initial search didn’t pan out as planned, so I’ll have to share my results in a series of posts, and this post will be part one.
One of my ideas was not having a membership system at all and delegating this to a well known identity provider like Google or Facebook. I also wanted to have my application as a pure API with SPA client and moreover I wanted to have a stateless application. I didn’t want to have any sessions on the server side. So this problem requires me to use a bearer token authentication with implicit flow where a browser client gets an access token from Identity Provider and passes it to the API in every request. API validates this token and grants access or not to its resources.
Before I start my work I must choose Identity Provider. I decided to use Google Identity Provider Platform, and then I must register a web application in this Platform.
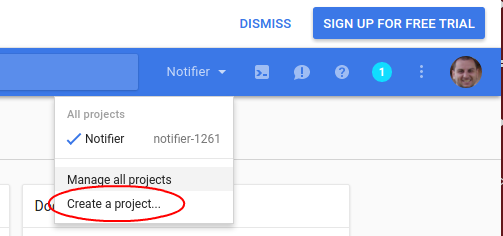
To create a web application client, I entered the Google Developers Console and then I chose Create a project…
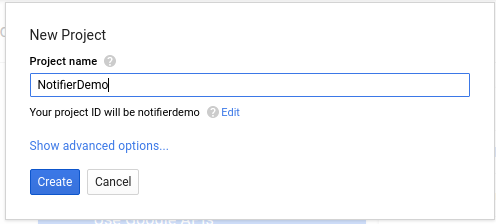
Then I specified Project name and clicked Create.
After a while my new application was visible in the Dashboard.
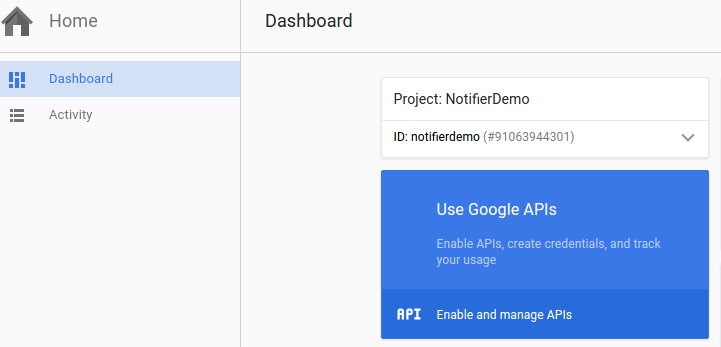
I clicked on Enable and manage APIs and after I saw this screen:
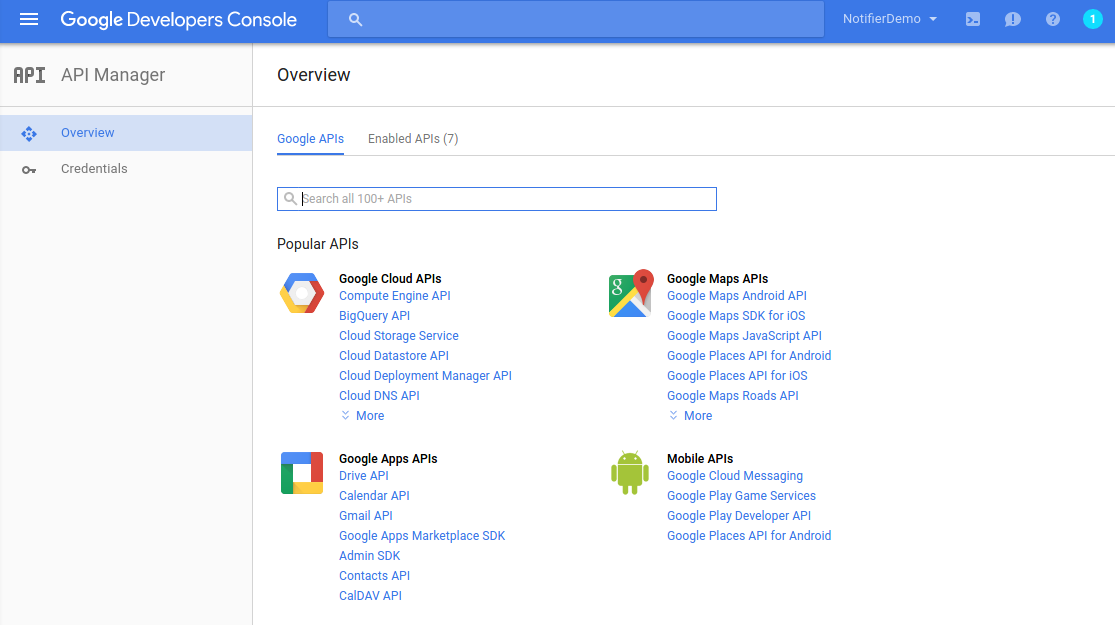
On the left side, I can see a menu option Credentials I clicked on this option and I saw this:
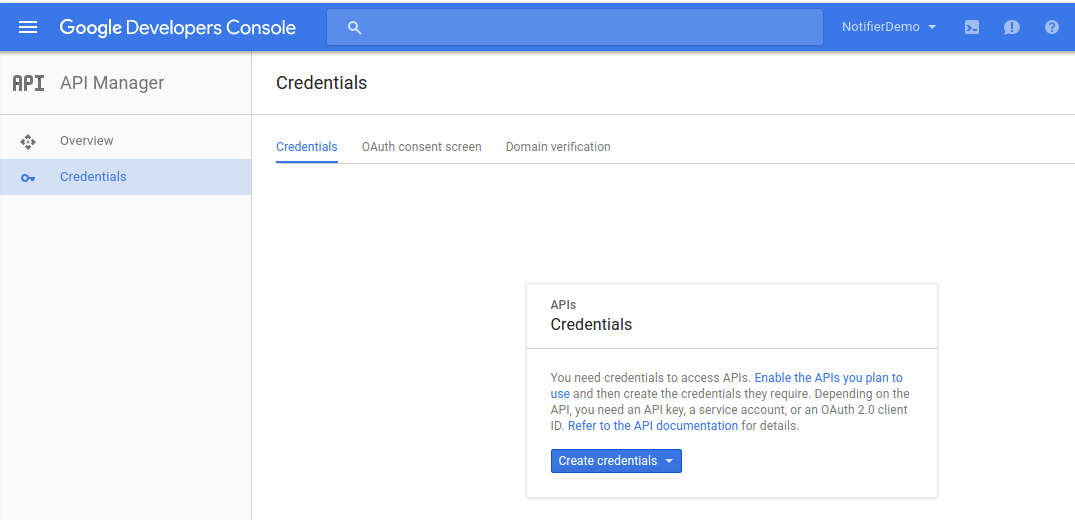
I clicked on the middle tab named OAuth consent screen and in the form I entered only a Product name shown to users.
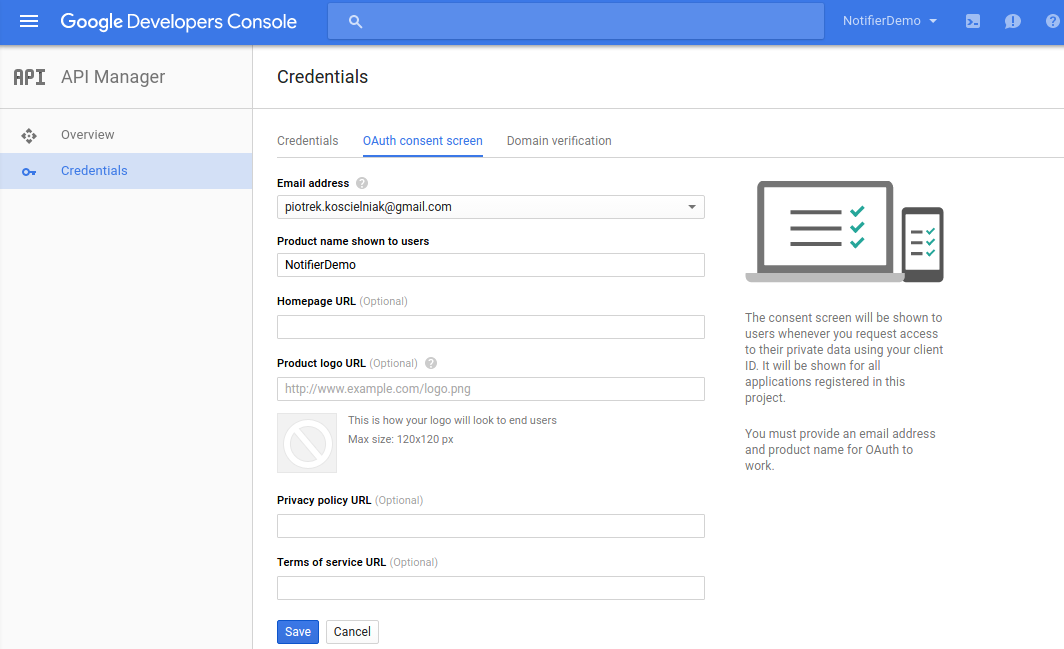
Then I clicked Save. After this, I was redirect back to the first tab: Credentials. On this tab, I clicked Create credentials I saw the following choices:
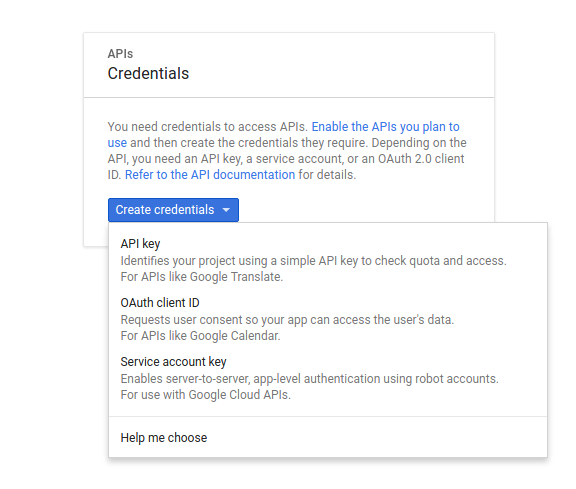
I chose OAuth client ID. Then on the next screen I selected Web application as a Application type and I put name and urls.
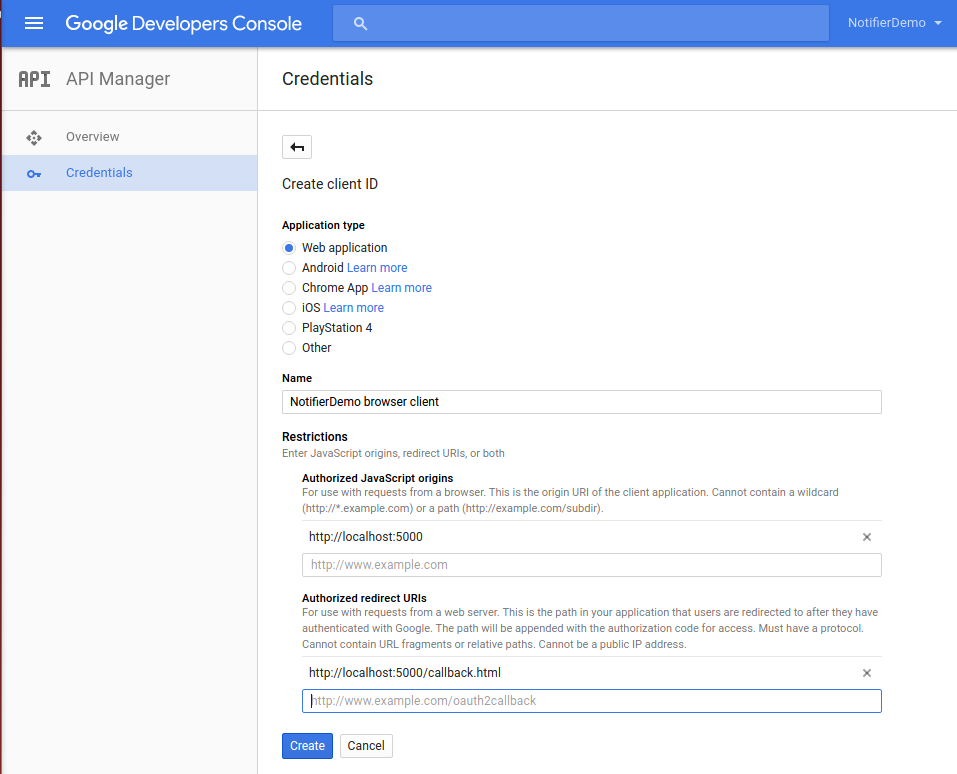
When I clicked “Create” I saw this popup window:
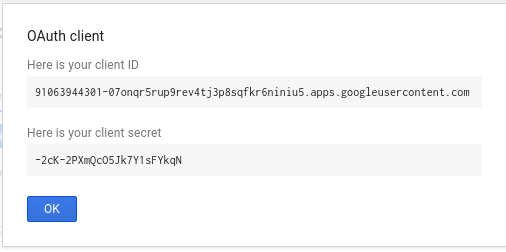
I didn’t bother to copy this, since I got this letter in another form. I just clicked OK and I saw this:

On the right side, I had a download icon (see red ellipse in the picture above). I clicked on it and the window to save file opened:
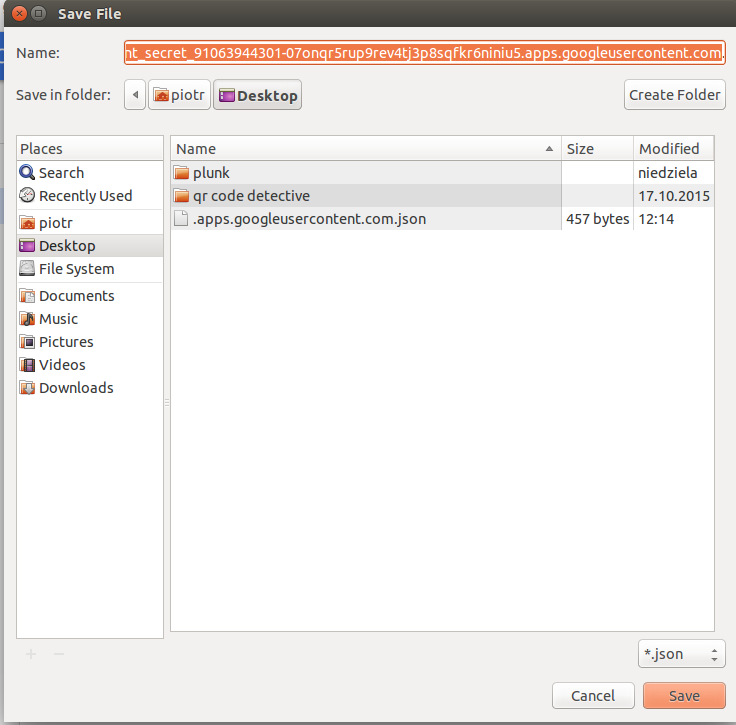
I saved this file and I will return to it later in the next post.
After this, Client for Google APIs was now ready to use and now I must create an application for it. As I mentioned before, this post is the first part about auth things. In the next post, I will continue this theme and I hope, I’ll show finally some code.
Related posts:
- Enrolling in "Daj się poznać"
- "Daj się poznać" - Project details"
- I'm holding a Project Rider EAP
- Installing ASP .NET Core 1 on Ubuntu 14.04
- My first ASP NET Core 1.0 web application
- Project setup - server-side
- Project setup - client-side
- Adding styling to my application
- Angular 2 Confirm Dialog Component
- Before going into production
- Publishing to Azure
- Setting up the Web client for Google Identity Platform
- oidc-token-manager library with Google Identity Platform - Part 1
- oidc-token-manager library with Google Identity Platform - Part 2
- Accessing API with token from Google Identity Provider
- How portable is ASP .NET Core 1.0?
- When dotPeek can save your live
- Reading code as if it were a book
- ASP .NET Core Configuration
- Getting started with IdentityServer4
- IdentityServer4 - accessing API
- Dealing with secrets in ASP .NET Core
- Google Identity Provider with IdentityServer4
- Upgrading to Angular2 RC1
- Experimenting with Angular2 CLI
- Migrating to ASP .NET Core RC2
- Epilogue: Daj się poznać series

Comments
comments powered by Disqus