Publishing to Azure
In the last post, I wrote how I prepared my application to be ready for publishing. In this post, I am going to write about how I published my application to Azure. I believe that my client should see the results of my work as quickly as possible. For my project, I only have an Imaginary Client but imaginary or not they also deserve respect.
To publish my application to Azure, I went through following steps.
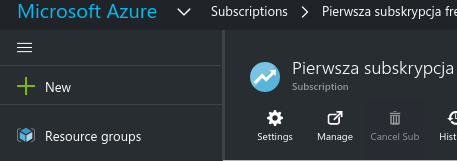
After I logged into the Azure Portal, I clicked on the New button in the top left corner.

Then I chose Web + Mobile and after this I clicked on Web App.

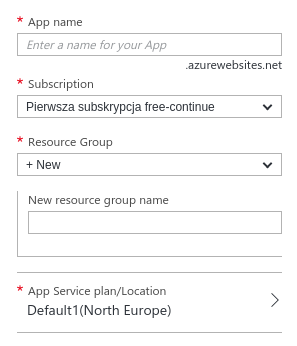
This gave me a window where I could specify the App name, Subscription, Resource group and App Service plan.

When I clicked Create, it took a while to create my brand new application.
After this, I navigated to the application settings and inside, I chose Settings > Deployment Source > Configure required settings > Local Git Repository

Then I clicked Ok.
After this, I navigated to Settings > Deployment credentials and I set up a deployment user by entering a username and password.

This time the save button was at the top of this window.

Then inside Settings > Properties I found GIT URL which is the url to the git repository where I should publish source code using credentials specified in Deployment credentials.

Then I added this repository as another remote in my local git repository by issuing:
git remote add azure [GIT URL]
Where [GIT URL] is the url copied from the Azure portal.
Then I entered in terminal:
git push -u azure master
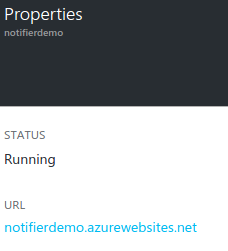
After I entered this company, I was prompted to enter my password and the deployment process began. It took quite a lot of time before I was able to see my application in the browser. I found the public address of my application in Settings -> Properties.

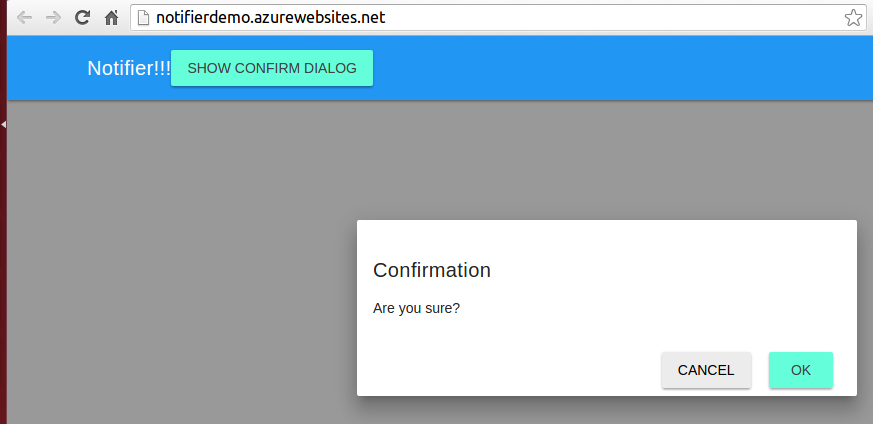
After I clicked on it, I could see my application hosted as a Web App in Azure.

I was really surprised that the process of deployment to Azure was very easy and relatively intuitive. What surprised me the most was that Azure discovered where my web project was in the repository structure of folders. I like these kinds of things. Big kudos to the Azure team for this.
Related posts:
- Enrolling in "Daj się poznać"
- "Daj się poznać" - Project details"
- I'm holding a Project Rider EAP
- Installing ASP .NET Core 1 on Ubuntu 14.04
- My first ASP NET Core 1.0 web application
- Project setup - server-side
- Project setup - client-side
- Adding styling to my application
- Angular 2 Confirm Dialog Component
- Before going into production
- Publishing to Azure
- Setting up the Web client for Google Identity Platform
- oidc-token-manager library with Google Identity Platform - Part 1
- oidc-token-manager library with Google Identity Platform - Part 2
- Accessing API with token from Google Identity Provider
- How portable is ASP .NET Core 1.0?
- When dotPeek can save your live
- Reading code as if it were a book
- ASP .NET Core Configuration
- Getting started with IdentityServer4
- IdentityServer4 - accessing API
- Dealing with secrets in ASP .NET Core
- Google Identity Provider with IdentityServer4
- Upgrading to Angular2 RC1
- Experimenting with Angular2 CLI
- Migrating to ASP .NET Core RC2
- Epilogue: Daj się poznać series

Comments
comments powered by Disqus