I'm holding a Project Rider EAP
I planned for the next post in the “Daj się poznać” series to be about my Ubuntu environment setup but something pretty amazing happened to me yesterday evening - I got access to an EAP of Project Rider. So this is an impromptu post which fits very well into the “Daj się poznać” series and the post which I had planned about my Ubuntu environment setup will follow next week.
I had hoped to get access to an EAP version of Project Rider and it happened yesterday at about 9pm when I opened my mailbox and saw an email from JetBrains. I received links to download Project Rider. I felt like a child who just got a gift from Santa Claus. I’ve wanted to have IDE for .NET from JetBrains for so long, I can’t even remember the first time the idea crossed my mind. I am using ReSharper but it’s not the same and I wanted to have a “native feeling” of JetBrains’ IDEs. Let’s look at my first impression about Project Rider.
I chose install rider on Ubuntu so I downloaded the version for Linux. I unpacked the downloaded archive into a convenient location. I opened console (CTRL+SHIFT+T) and then I typed in console
~/install/riderRS-144.4571/bin/rider.sh
After a short while I saw this window
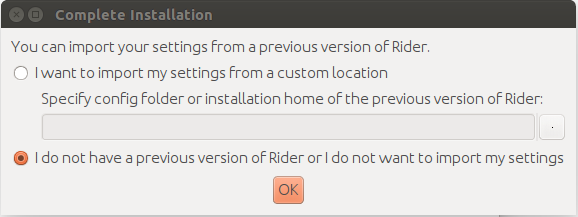 I chose not to import my settings. And the process of customizing the Rider began.
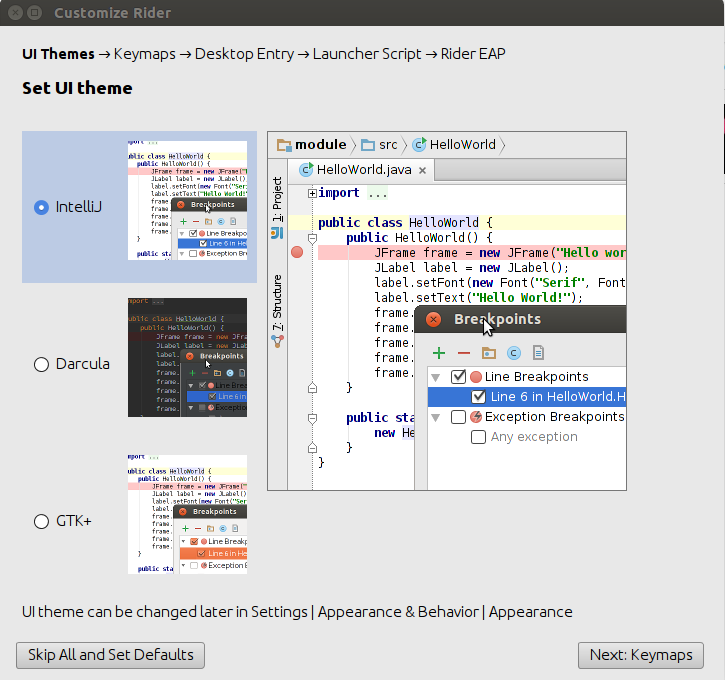
On the first screen I selected a UI theme.
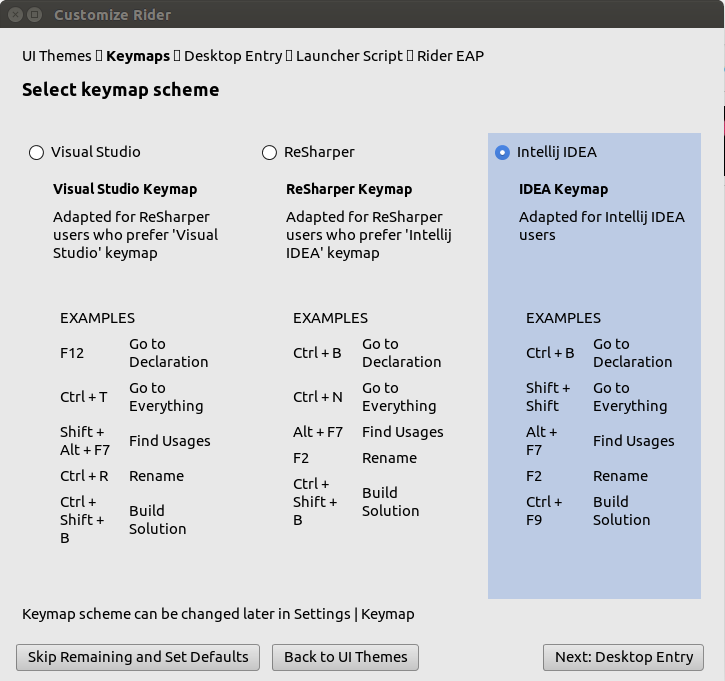
The next window prompted me to select a keymap. Because I am really familiar with shortcuts from Intellij IDEA I chose this keymap. By the way, I was pleasantly surprised that the Visual Studio Keymap was a choice.
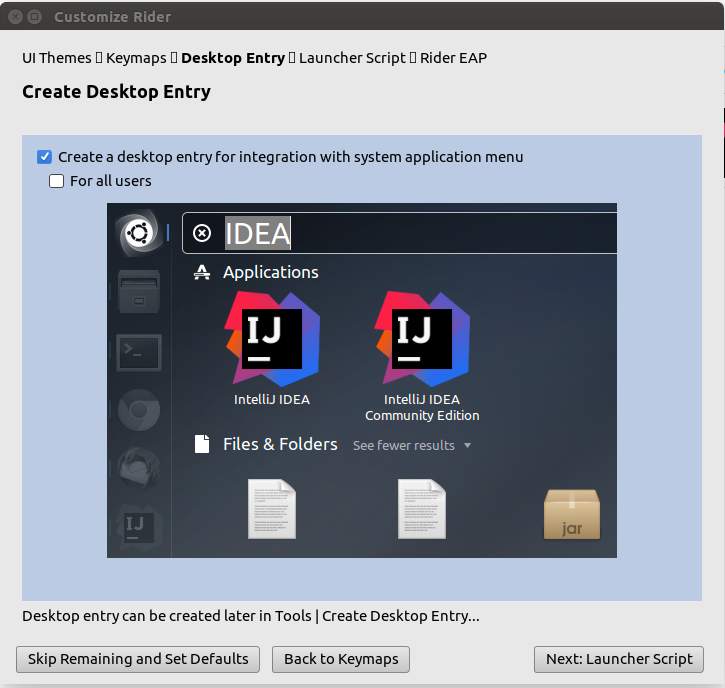
On the next screen I was asked to choose whether I want to have a desktop entry for Project Rider or not.
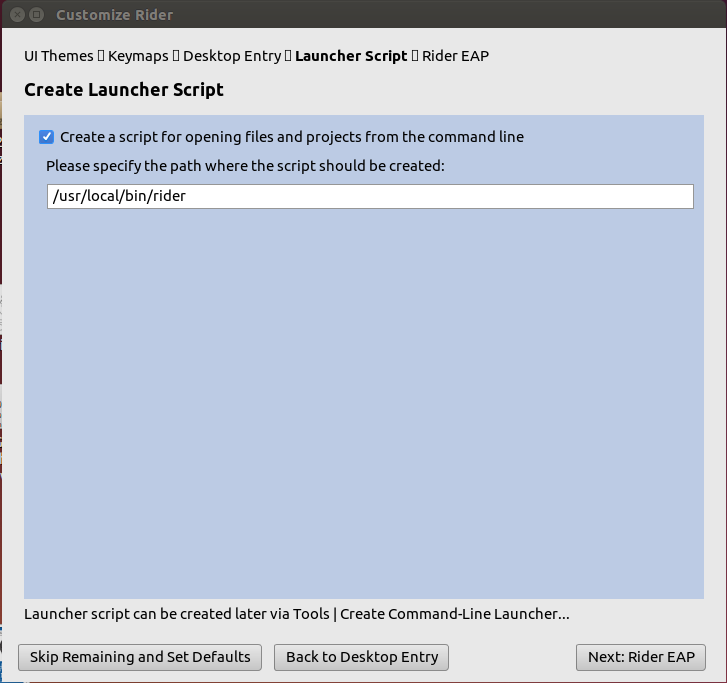
Then I could decide whether I wanted to have a Launcher Script and where it should be.
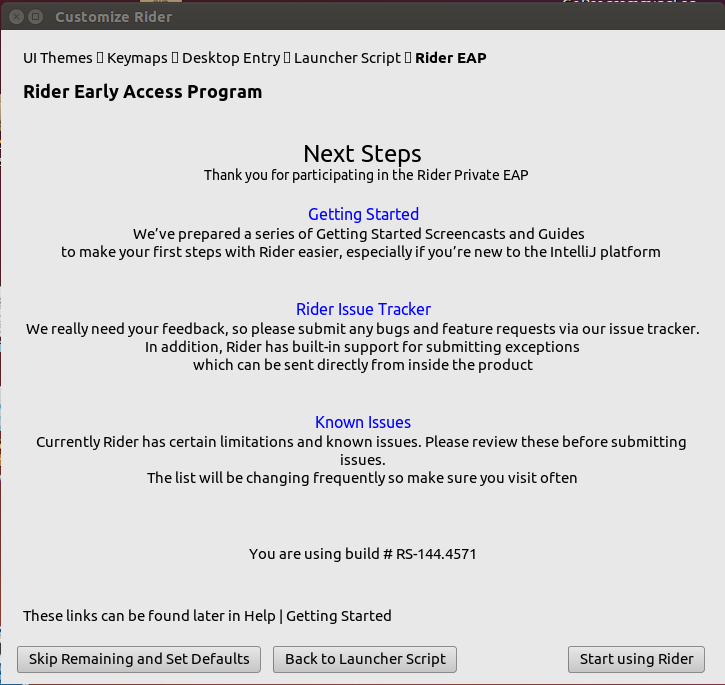
On the next window
I found a couple of useful links to Getting Started help, to Rider Issue Tracker and to Known Issues.
After I clicked Start using Rider, I was prompted to insert my password in a dialog window and then I saw the Welcome screen of Rider
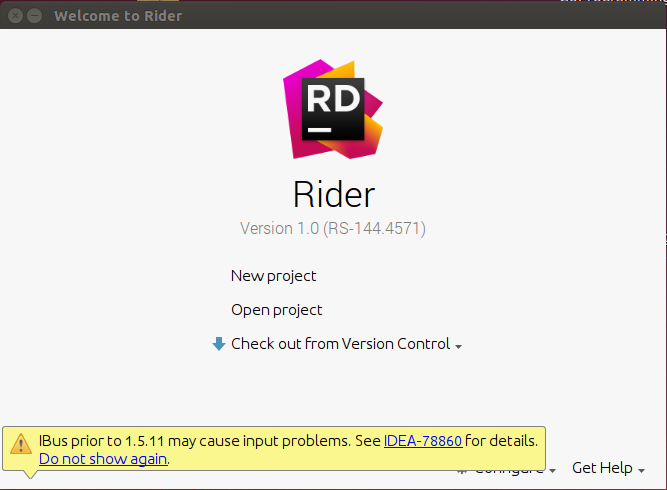
You may wonder what this yellow strip at the bottom means. You can read about it in this link. It’s a known issue in JetBrains products on Ubuntu and how to deal with it is also written in this link.
I must honestly say that everything was okay during the installation and this was a big plus.
After installation, I quickly created my first console application: I clicked New Project on Welcome screen and I saw this window
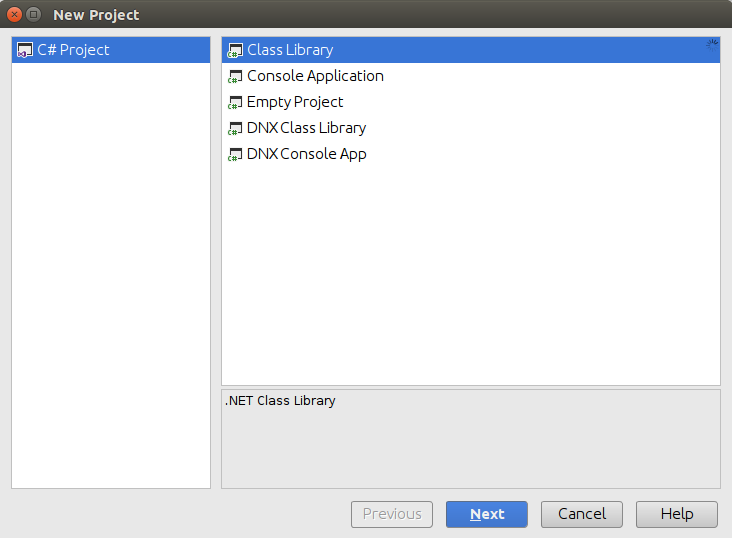
I chose Console Application.
On the next screen I entered the project name and solution name.
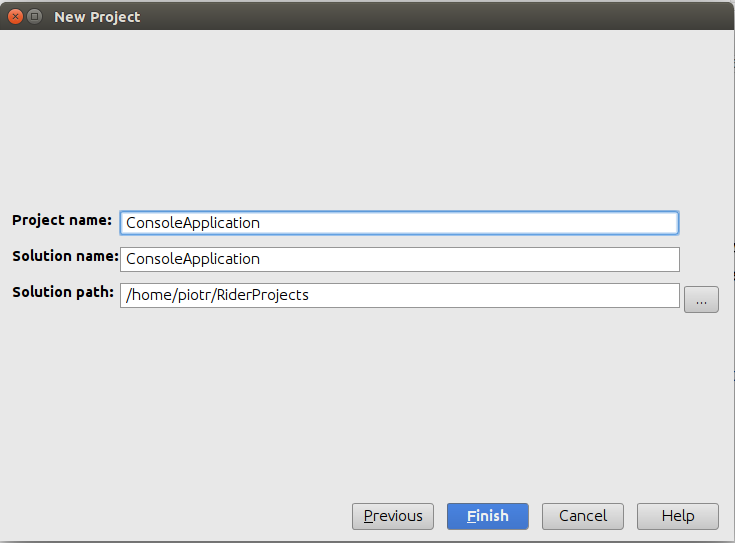
After this, I wrote some code
using System;

namespace ConsoleApplication
{
  class Program
  {
    static void Main(string[] args)
    {
      Console.WriteLine("Is it real?");
    }
  }
}
and pressed SHIFT+F10 and can you guess what happened? At the bottom of IDE I saw this output

So until now everything was perfect. I started playing with a web project and this time it wasn’t so good. There is no template to create this type of project. I created one using Yeoman aspnet generator (I’ll write about this in a future post). But I couldn’t open it in Project Rider because the project created by this generator doesn’t contain .sln and .csproj files and apparently Rider requires these type of files in order to see files in solution. I created an issue about this in JetBrains youtrack and you can follow it at this link.
I found out in this post that CoreCLR support is coming so I must be patient. I hope that Rider will have better support for ASP .NET Core applications because now it doesn’t have this. Currently, it doesn’t even support Views. I created another issue about this. You can check it here.
Finally, I am so happy and excited that JetBrains created Rider but I must wait for a while until it gets better support for CoreCLR and ASP .NET Core. During this time, I’ll be using Visual Studio Code on Linux and Visual Studio with ReSharper on Windows. Again, great job to JetBrains! I am sure that I’m not the only one waiting for more.
Related posts:
- Enrolling in "Daj się poznać"
- "Daj się poznać" - Project details"
- I'm holding a Project Rider EAP
- Installing ASP .NET Core 1 on Ubuntu 14.04
- My first ASP NET Core 1.0 web application
- Project setup - server-side
- Project setup - client-side
- Adding styling to my application
- Angular 2 Confirm Dialog Component
- Before going into production
- Publishing to Azure
- Setting up the Web client for Google Identity Platform
- oidc-token-manager library with Google Identity Platform - Part 1
- oidc-token-manager library with Google Identity Platform - Part 2
- Accessing API with token from Google Identity Provider
- How portable is ASP .NET Core 1.0?
- When dotPeek can save your live
- Reading code as if it were a book
- ASP .NET Core Configuration
- Getting started with IdentityServer4
- IdentityServer4 - accessing API
- Dealing with secrets in ASP .NET Core
- Google Identity Provider with IdentityServer4
- Upgrading to Angular2 RC1
- Experimenting with Angular2 CLI
- Migrating to ASP .NET Core RC2
- Epilogue: Daj się poznać series

Comments
comments powered by Disqus